Backgroung

Thursday 30 April 2015

Busy Bees -

Last weekend I had the pleasure of meeting and attending a class by Jo Firth-Young, designer for Paperartsy stamps - JOFY- at the Craft Barn.
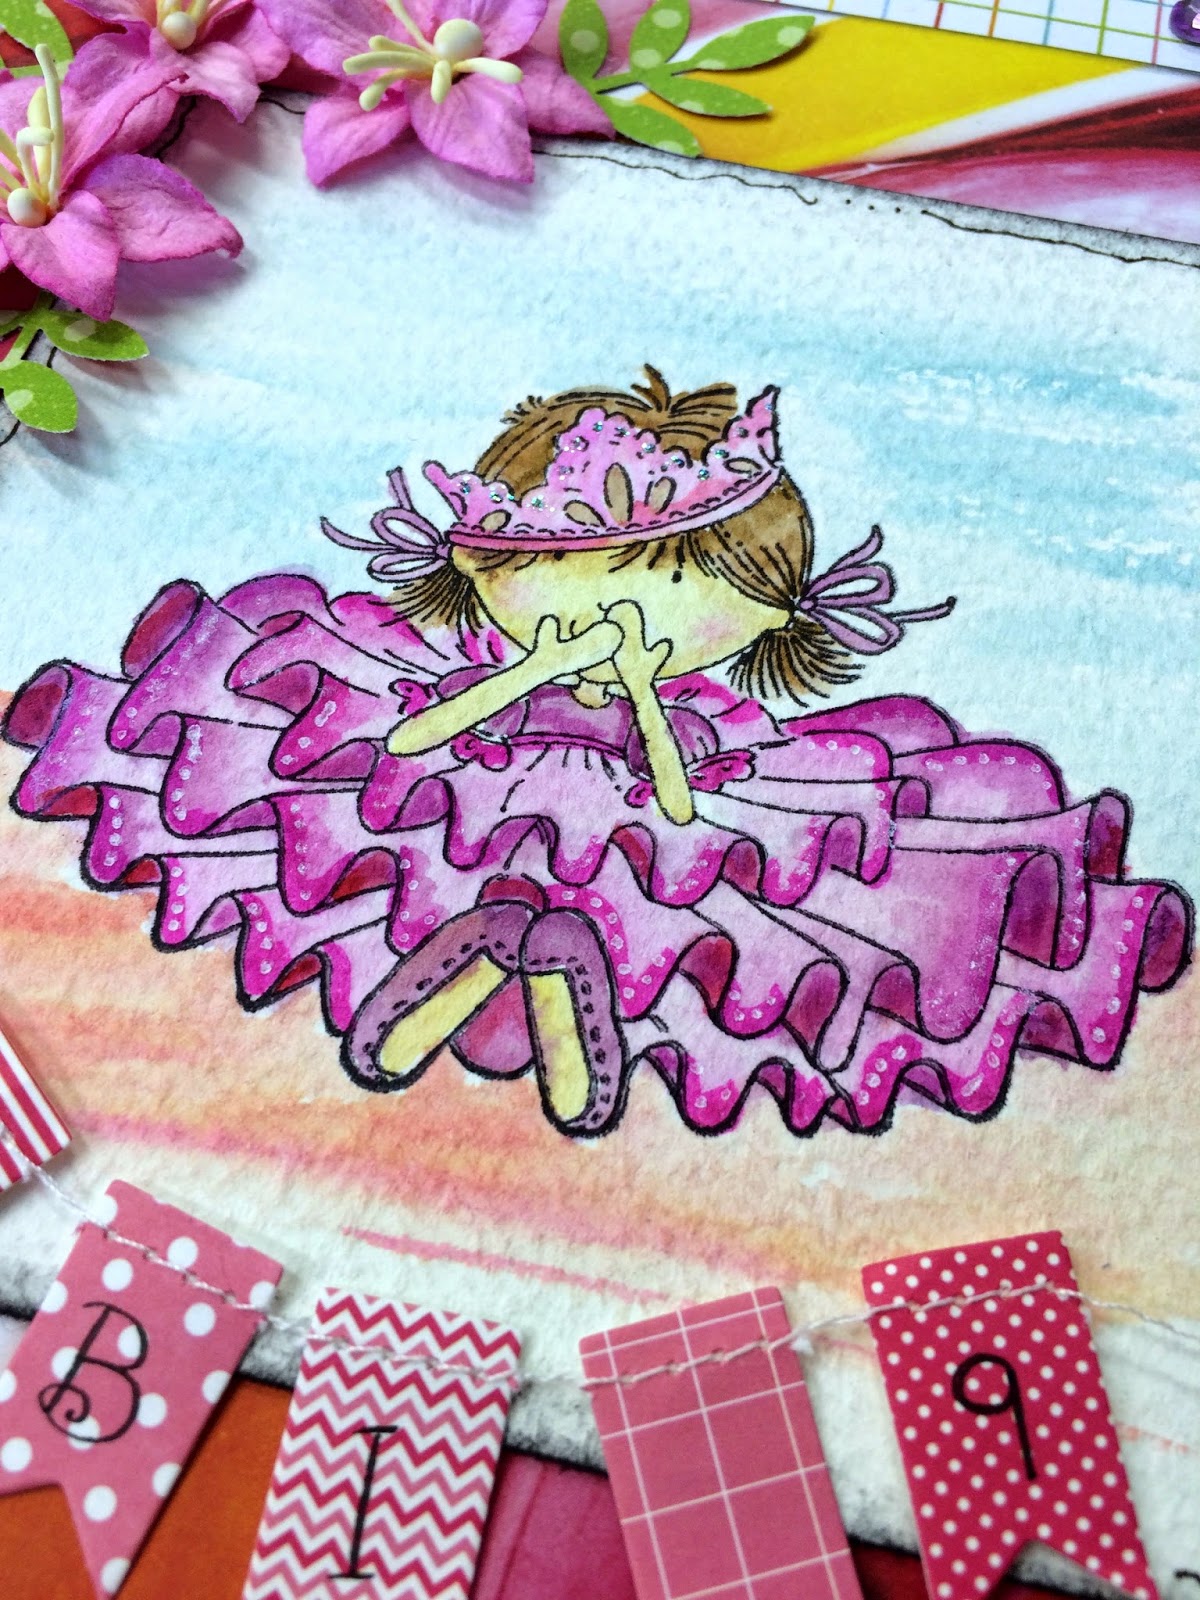
We made this wonderful, fun, canvas with her new stamps sets.


When I got home I took my lovely white sharpie and added further decoration/definition to the blooms and of course some bling and glitter which is obligatory!

Thank-you so much Jo for a lovely class and project - Oh and the introduction to Dame Judi Dench!
Looking forward to next time - hopefully without the tissue paper though :)

Off to play with more sets of Jo's stamps which just happened to fall into my shopping basket - well it would have been rude not to.

xxx

Wednesday 29 April 2015

Rose Tutorial

My third post for Merly Impressions is now available on the blog.

I made this gift box - a much more feminine version than last month - and show how to make the lovely roses - credit to Hels Sheridan for the inspiration.


Papers from the vibrant POP collection and texture from Kaisercrafts new range of Embossing folders.

Check it out here.


Sunday 19 April 2015

Wall of Hearts

A colleague at work recently moved into a new home and created a wall of hearts.
I had wanted to make her a housewarming gift so this seemed the perfect thing.

I started with an MDF heart and coated it with white gesso.


Papers from the POP collection at Merly Impressions were added as a backgound then also used to make roses using a stamping up punch.


I found a photograph of her family on facebook and added it with a lace edge underneath and a sentiment from the sticker sheet.
The roses were coated with Spray and Sparkle in pink.
I cut some leaves using a Kaisercraft die from Merly Impressions and added them behind the roses.


Smaller flowers were punched and added with some foliage and gems.


A message was cut and layered with 3d glue gel and pins added behind.
Finally some string to hang it by and a few pearls on the edge.

Wishing you all every happiness in your new home.

xxx

Saturday 18 April 2015

Floral Frame

This is my project for April made with the lovely Kaisercraft POP papers for Merly Impressions.


Click here for instructions.


Friday 17 April 2015

More JOFY stamps............................


This is from another set of PaperArtsy JOFY stamps.
I used the same technique as the last card with the drawing gum and Aqua Tint colour wash background.


I used an A5 card this time with a deckle edge with POP papers again from Kaisercraft - available from Merly Impressions. 


I tied some black jute around the neck of the vase and through the tag message.

The edge was finished with a black fine liner and white Sharpie pen.

Wednesday 15 April 2015

Tweet tweet!

I got this lovely stamp set by JOFY from Paperartsy recently and made this.
I stamped my images and masked them with drawing gum. The background was colour washed with Aqua Tints. 


Once dry, I coloured the image with Tim Holtz distress pens and inks. 
The leaves and blossoms were stamped and coloured separately then cut out stuck on with glue gel. 


I stamped the central bird again, coloured, cut out and added with gel too. 
The birdhouse was linked to the branch by drawing circles with a black pen.


 A stamp from another set was added around the top edge and decorated with a white sharpie pen. Tweet tweet was added for a fun greeting. A simple mounting of black card and some POP paper from Kaisercraft completed the card which is 6x6".


Thanks for taking a look.

Monday 13 April 2015

Abigail's 9

I can't believe how fast the time has gone, my great-niece celebrated her 9th birthday recently!

I made her this card using papers left over from my latest DT kit from Merly Impressions which contained the POP collection of papers from Kaisercraft.

The card is 8x8" square, I seem to use this size a lot, papers as above from POP.


The image is Crafters Companion, Angelica, which I stamped onto watercolour card and coloured using Tim Holtz distress markers and ink pads.


The flowers were from my collection and the leaves punched with a trusty Martha Stewart punch.
Gems again from my stash.
The banner is from the Kaisercraft POP collection too and I wrote her name and age with a Fine-line pen - these are self adhesive either end but move in the middle which is fun.

Thanks for taking a look - check out this colourful collection at Merly Impressions!

Saturday 11 April 2015

Welcoming Zain to the world

Lyndsay at work has been blessed with a new Grandson so I made the following to celebrate his safe arrival.

The card is an 8x8" which has been decorated with a patchwork of papers from the Doodlebug Snips and Snails range along with Bo Bunny Essentials.


The photograph is 4x4" and backed with the doodlebug papers.


Once in place buttons were added from my collection along with some cross-stitches randomly placed.


His name was placed on a banner created from a Stampin Up punch, some bakers twine and more buttons. The letters are Making Memories rub-ons.


This is a perfect size to fit into the IKEA shadow box frames too.

Congratulations to Zain's parents.
xxx


Thursday 9 April 2015

Birthday Selfie...................

My latest page is now on the Merly Impressions Blog, it's a photo taken on Robert's birthday this year of us taking a selfie!


Hop over the the blog for a full description and "how to" using the fabulous Kaisercraft POP collection.

xXx

Tuesday 7 April 2015

Large Butterflies

Following on from my previous post, I used the gutted waste from the Dandelion cards to make an aperture frame for the following cards.
They too were run through my Big Shot with the embossing folder then placed over some patterned papers.


I added two die-cut dandelions to the top corner then used the new Tim Holtz Butterfly die and embossing folder to create these large butterflies.


They were coloured using Tim Holtz Distress ink pads and a brush.
The bodies are glazed with Crystl lacquer with tiny aqua gems for eyes.

I have added silicone under the wings to keep them raised.

Thank-you for taking the time to look.

xxx

Sunday 5 April 2015

Dandelions

 These are some more cards I made whilst away with my friends.

Anita had a new Memory Box die of a full Dandelion which I had not seen, so I had to borrow it to play. I cut some white bazzill 5x5" and ran it though an embossing folder I bought a while back.
The mount is cut slightly larger and a circle cut from the centre, this was placed onto the embossed card. I used one of the full dandelion and another one that I already had and stuck them on top.


A Stamping up Oval and Scalloped oval punch were used for the message and raised on 3 foam pads.


Lots of Diamond Stickles were added to the ends but it's hard to see here.


I liked the effect so made two others in alternative colours.


Thank-you for the loan of your die Anita - loved using it!

xXx

Friday 3 April 2015

Easter Eggs grow on Trees!

Happy Easter!

I was asked to make some Easter cards for my colleague at work who had bought a version of this card with hearts on it. Lynn kindly loaned me a QK egg die which was the perfect size to do this with - Thanks Lynn.


They are 4" square with matts of bright Bo Bunny paper which I also used to cut the eggs with.


The tree is a Memory box die.


I added a bow too which came on the egg die.


Thanks for looking
xxx


Wednesday 1 April 2015

Beautiful Botanicals

 Whilst making the card with my Dad's photograph, I used Sandra's beautiful Sheena Douglass stamps so made a couple more as below.

I stamped the leafy branch onto watercolour card and coloured it using Tim Holtz Distress Markers - Mowed Lawn and Crushed Olive. The flowers were cut out and coloured with Broken China, Chipped Sapphire & Sandra's yellow Spectrum Noir Aqua pen. These were then shaped and added to the branch.


The panel was mounted onto black bazzill and put onto a 6x6" card blank onto which I stamped "Happy Birthday"


The branches were shadowed using a waterbrush and Pumice Distress ink.


I drew a wiggly line around the edge to create a border then added lots of Diamond Stickles plus some Crystal lacquer to look like dew on the leaves.

The smaller one below uses a different leaf stamp and the same blossoms.
This time coloured with Seedless Preserve and Scattered Straw.


I mounted onto black bazzill again and onto a C6 card blank, stamped with a greeting again.
The blooms were added to look as if they were falling from the branch.


Again more stickles added to the centre.

I loved these stamps so much, I have ordered them!

Thank-you Sandra for the loan and the inspiration!