Backgroung

Monday, 1 April 2013

Tell me about it...

This month's scraplift is by the talented Morag Cutts, you can find her blog here .

This my version using Basic Grey Lucile papers.


Use  scrap paper to build your layout on, this will not be seen once layout complete.
I used 'Seams' paper marked at 5 3/4" and ripped down a ruler to create the top layer.
I then tore two 2" x 12" pieces of both 'Pleat' and 'Pin It'. The torn edges were further distressed more and place under the top layer rolling them over. 
Layer the papers so that the larger pieces cover the main area, and the other two papers show beneath the opening. As the papers are double-sided you will see all six surfaces of the patterned papers.

Use two pieces of 'Pleat' to fill in the gaps at the top and bottom of the layout. These need to be about 4" x 2 1/2".


Layer the papers so that the larger pieces cover the main area, and the other two papers show beneath the opening. As the papers are double-sided you will see all six surfaces of the patterned papers.
I used two pieces of leftover paper underneath to cover the scrap paper. 


 Circles were cut with Creative Memories cutters as follows:
1 circle with 'Pin It' and the outer edge of the medium size ring using the blue blade. 
Gut this circle with the inner edge of the large ring and the red blade. 
Set smaller circle aside to use later.
Cut 1 circle with 'Pleat' using outer edge of middle ring and the red blade.
Distress the circles and mount the smaller one over the gutted larger circle.

Place to left of centre on page.

I cut two photo mats approximately 4 1/2" x 3 1/2" from "Pleat' & "Pin-it"  and added a 4" x 3" portrait photo onto them, then placed over the circles. 

I used elements from the sticker sheet and layered them with 3d foam – I also added the sentiment “tell me about it” and placed over the centre of the torn page.

A Judi-Kins, gift tag envelope and 'Pin It' paper were used to make a small envelope. which was placed to right of circle. I added the two tags from the element sheet and made a 3rd from leftover paper and added some ribbon  through the holes in the top.


The decorative strips from the cut-off section of the pages were added to the bottom right of my page, the ends were cut at an angle.
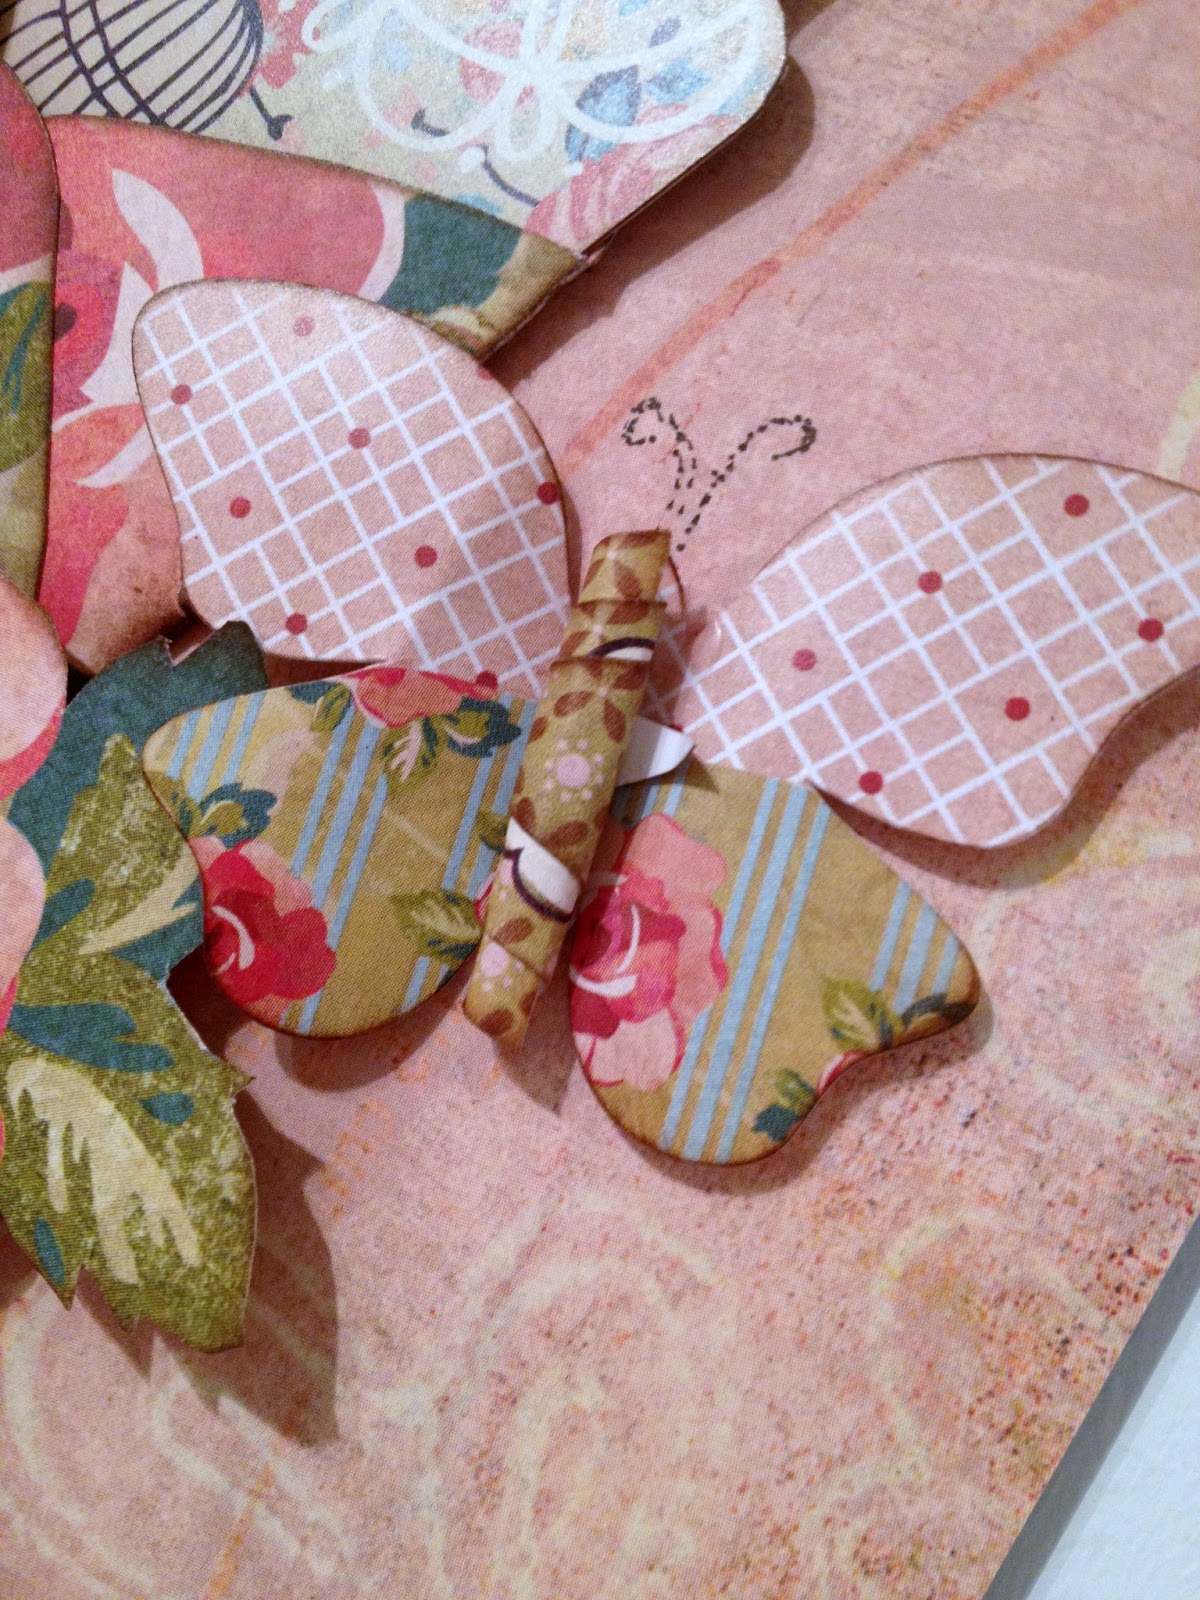
Roses cut from the leftover Pin-it  paper were added over this area, along with a butterfly from the element sheet to which I added a rolled paper body and drew antennae.

Some of the bunting triangles were placed in a semi circle below the photo mounts and outlined with a black pen.  A piece ofblack lace was tied into a bow and stuck just above.
The pins were placed through the knot of the bow.


I made a rolled rose with the gutted circle leftover paper and added to the left side with  a circle from the elements sheet.

This is Morag's beautiful original which inspired us.


And of course our sketch.


Pop over to the Scrapology blog for more information and to see the DT's pages.

Good Luck

xxx

Saturday, 30 March 2013

Floral Explosion

This is the card class I designed and taught at the Cardinal Colours Spring Crop recently.


This first one is painted using Sheena Douglass paint fusion Daisy stamps and Pebeo Paints.
The image was stamped onto mountboard and masked then overstamped with text.
Once the flower were painted, I drew in thin stems and stamped the word in the bottom.
Once the edged were inked it was placed centrally on a scalloped edge card with a matt of Basig Grey paper. A gold ribbon and some pearls were added to finish.


Card two is also Paint Fusion using the Hellebore (Christmas Rose) stamp set.
This time I painted them onto card then cut them out.
The mountboard was prepared with black paint, crackle glaze and ecru paint which was back with gold mirri card and some more Basic Grey paper.


A stamped and punched message and some diamante finished this one.


Card Three uses paper from MME - The Sweetest Thing range.
The base card was punched with a Martha Stewart deep edge then covered with paper, the remainder of which was placed on the inside edge.
The then cut a fancy shape on text paper with a spellbinder die.
The flower is made with layers of two different patterned papers and my Tim Holtz Tattered Floral die - all scrunched up.


A few remaining petals were added inside with a butterfly as below.


I punched random butterflies for the front and added jewels.


A ribbon tie was added to finish.


Card Four uses the same range of papers.
The base is a 6x12 piece of cream puff bazzill folder into a gate-fold card.
Squares were cut in the mint paper and smaller squares of cream puff which were embossed with a swiss dot folder. My favourite retro daisy was used to punch the flowers which have small circle for their centres.
The centres were covered with glossy accents or stickles.
A variety of leaves were punched and added behind.


The message was stamped and punch with an SU circle and scallop punch.
Gold stickles were added around the edge.
I also decorated the inside of this one with the same papers.


If you were at the crop and took my class, please send photos of your cards along and I'll add them below - it would be good to see them :)

TFL

xxx  


Thursday, 21 March 2013

Top Acts

Pleased to say I was in the February top acts in the Merly Impressions challenge with this layout :)
Thanks Chrissy & Emilie


Monday, 18 March 2013

Love Forever


This is the page I taught at Cardinal Colours crop at the weekend.
Lovely papers from Kaisercrafts Pickled Pear collection.
We had fun with Tim Holtz distress stains creating splats on the page.


Paper rolls were created and added for dimension along with a fan of cards from one of the papers.
Elements from another sheet were added and 3d'd onto the page with some die-cut clock faces made with a Marianne die.


I used white acryllic to dry brush the photo edges.
And a dose of glossy accents too!


The hand of the clock face was used as a body on the butterfly with a jewel.
If you came along and took part, do e-mail me your creation so I can add them below!

Supplies from Cardinal Colours and Merly Impressions.

TFL
X


Friday, 15 March 2013

Health & Wealth - Scrapology March Card Challenge

Our challenge this month came from our own Jill of Cardinal Colours
It's her birthday and her granddaughters on St Patrick's day so the challenge is to create a card with that as the theme.

I downloaded this cheeky chap from Whimsy stamps who have a great selection.
He was coloured with my favourite Copic markers and placed onto a die cut from Marianne designs.
I coloured the edges with chalk inks and ran them over the embossed frame too.


The message (gleaned from the internet) means Health and Wealth - at least I hope it does and I haven't just insulted someone's mother!
The paper is from the Authentique Christmas range which I used for January's tag layout and I added a tied piece of green raffia and some blooms from my collection.


Here's a little close-up of the little lad with a rainbow created with Martha Stewart glitter - these are the ones that come in tubes like stickles.


Follow this link for details of the challenge and to see what other ideas our DT came up with.
Thanks for looking x

Wednesday, 13 March 2013

More Mothers Day cards

Here are two more cards I made for people at work.
Scraps of my MME papers were used along with kraft card and bakers twine.


Tuesday, 12 March 2013

More Chocolate

All the chocolate bars sold and I was asked to make more :)

Forgot to take the photos before they were packaged :(